I’ve been seeing this types of questions a lot in WHT. People who outgrew their shared hosting plans but not sure of upgrading to VPS or dedicated server because they’re not technical enough.
Usually the advice they got is to go for a managed provider, which is of course, a great option, especially if you have more money than time.
But this guide is for people who wants to squeeze what little money they can save by going with self-managed providers.
And don’t want to deal with command line. And, don’t want to pay for a cPanel license. Or bother to learn about free, open source panel like webmin.
Here We Go
So, you’ve got your VPS. It’s nice. It’s got 2GB RAM, a dedicated CPU core, and a nice flashy SSD. Raw-performance wise, it’s probably four times better than what you’ll get from a shared hosting plan.
What do you do, then? You’ve never dealt with a command line before. You don’t know the difference between nginx, apache or what version of PHP to use.
And you don’t need the server for fancy, django powered Node.JS behemoth of an app. You just want to run a wordpress site (or several).
Well, have you met Server Pilot before?

Now, Server Pilot advertised themselves as a companion to a Digital Ocean droplets. I’m not sure if that is an attempt to get an acquisition offer but it will 100% work with other VPS providers as well. I’ve tested it.
In fact, i’ve tested it running a wordpress site on a 256MB RAM KVM from Virmach, and their default setup seems optimized enough to run it fine. You need to run Ubuntu in the VPS to use Server Pilot
So, here’s their pricing:

As you can see, even on their free plan, you can use them to run unlimited websites on unlimited amount of servers. That also includes basic firewall configuration so you should be fine running on their default setup without having to worry about basic skiddy attack that can happen when you run a VPS without a properly-configured firewall.
So. I hope by now you’ve decided to sign up, and once you signed up, you’ll be greeted with this screen:
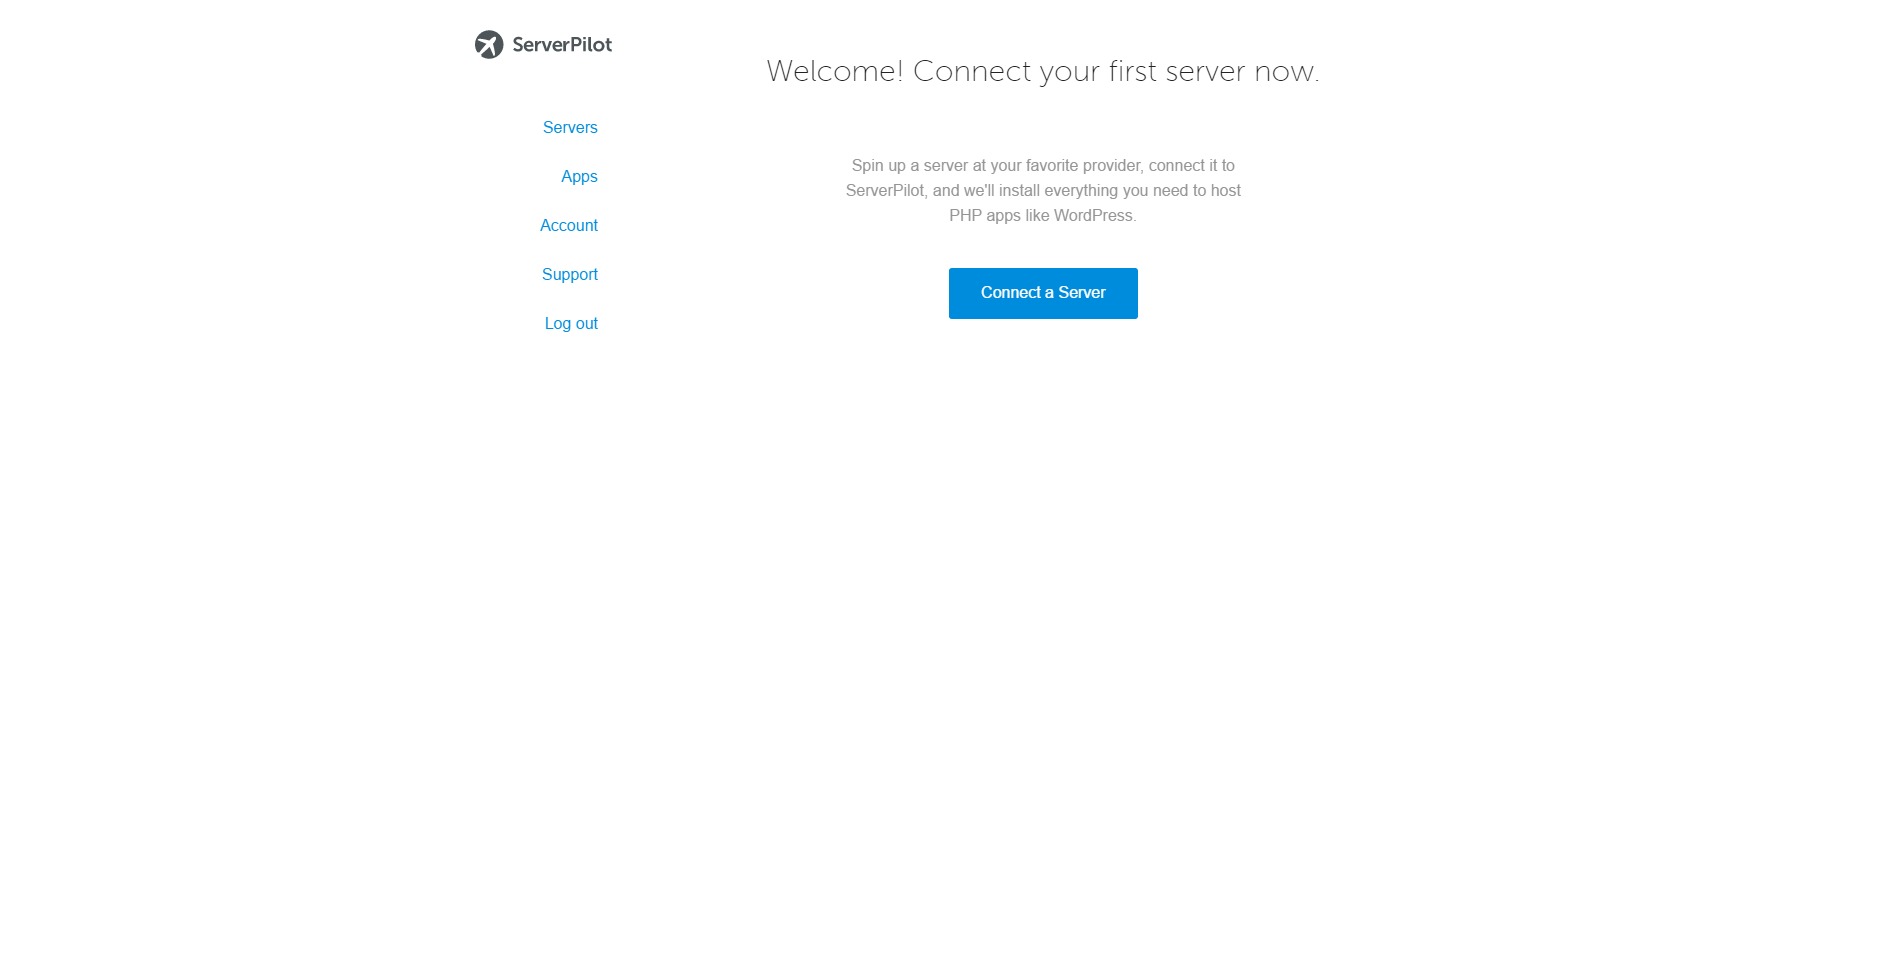
Easy enough. Click Connect to Server, and you’ll get this screen:
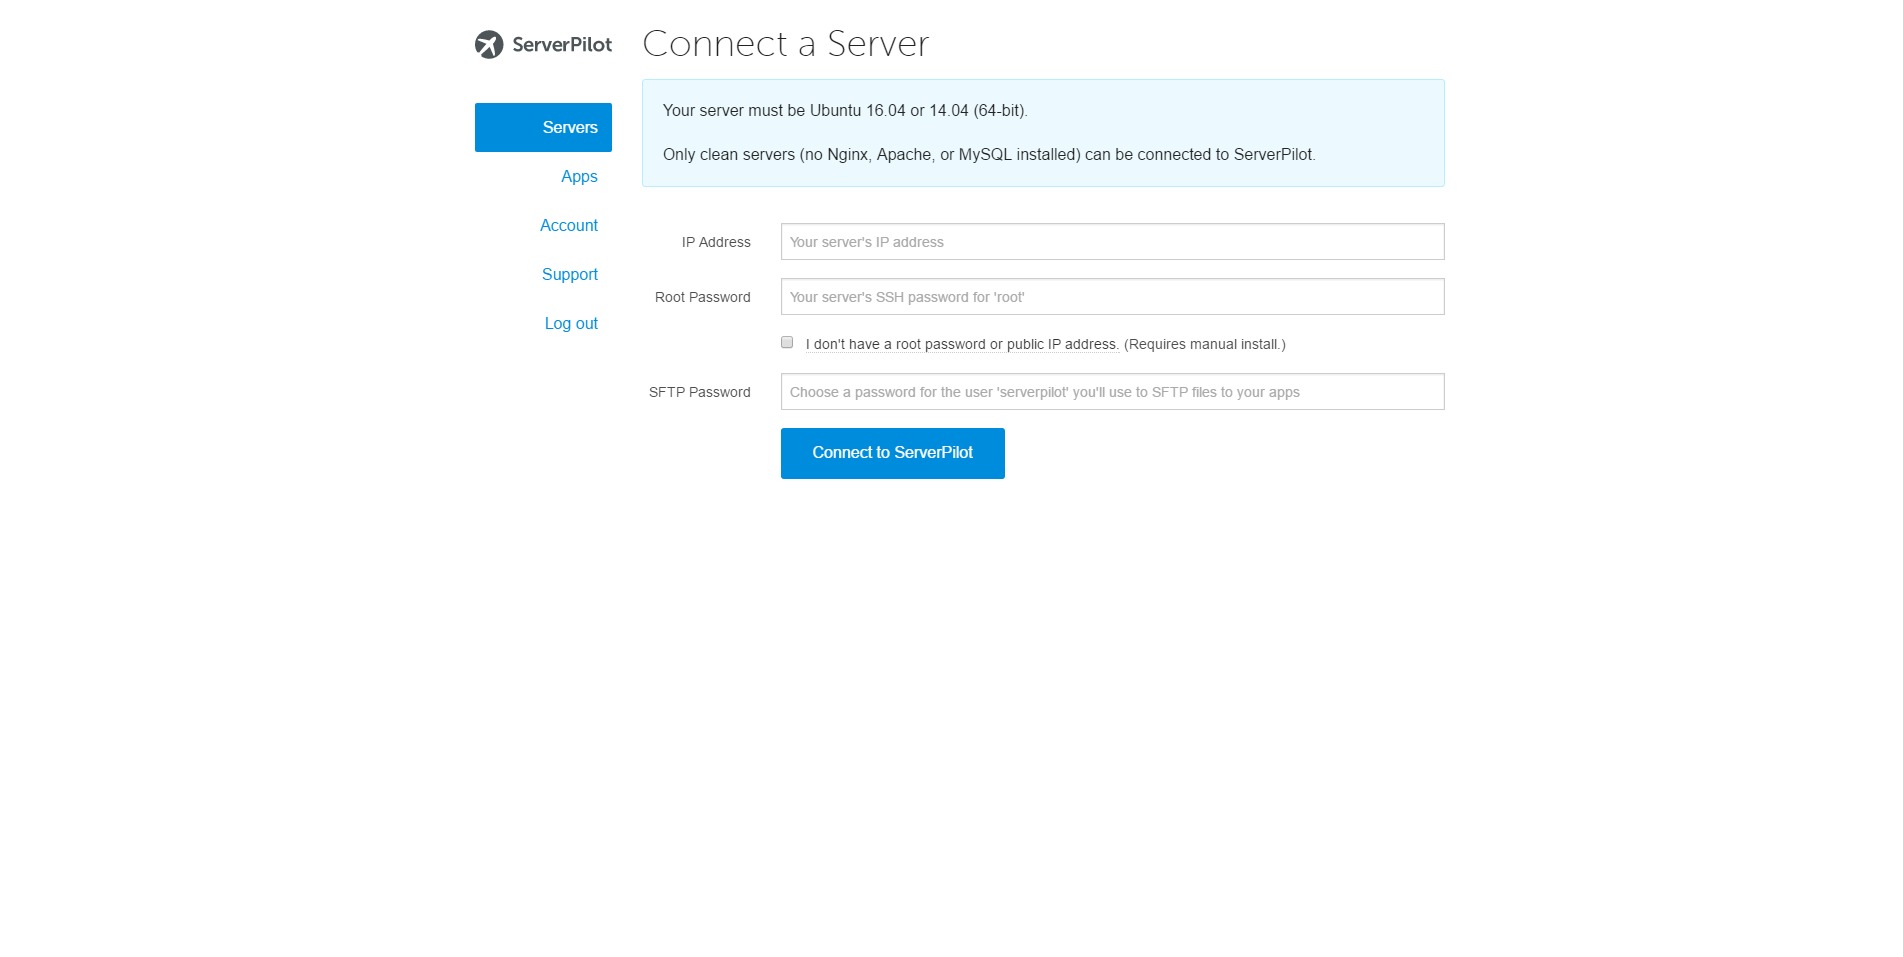
Now, when you buy your VPS from any provider, you will get root account details from them, usually in the welcome email. Just take the root password, and paste it there.
For SFTP password, use a secure one. You’ll need it for when you want to upload files or migrate your site to the server administered by Server Pilot. The username for this SFTP account would be ‘serverpilot’.
SFTP, short for SSH File Transfer Protocol, is completely different from FTP (File Transfer Protocol). When you’re running SFTP, you’re transferring files across SSH, a much more secure and encrypted data stream. Using SFTP also means that the server doesn’t have to run a separate service for FTP, which might save a bit of resources and less protocols to worry securing about.
Now, click ‘Connect to ServerPilot’, and ServerPilot will start setting up the server for you.
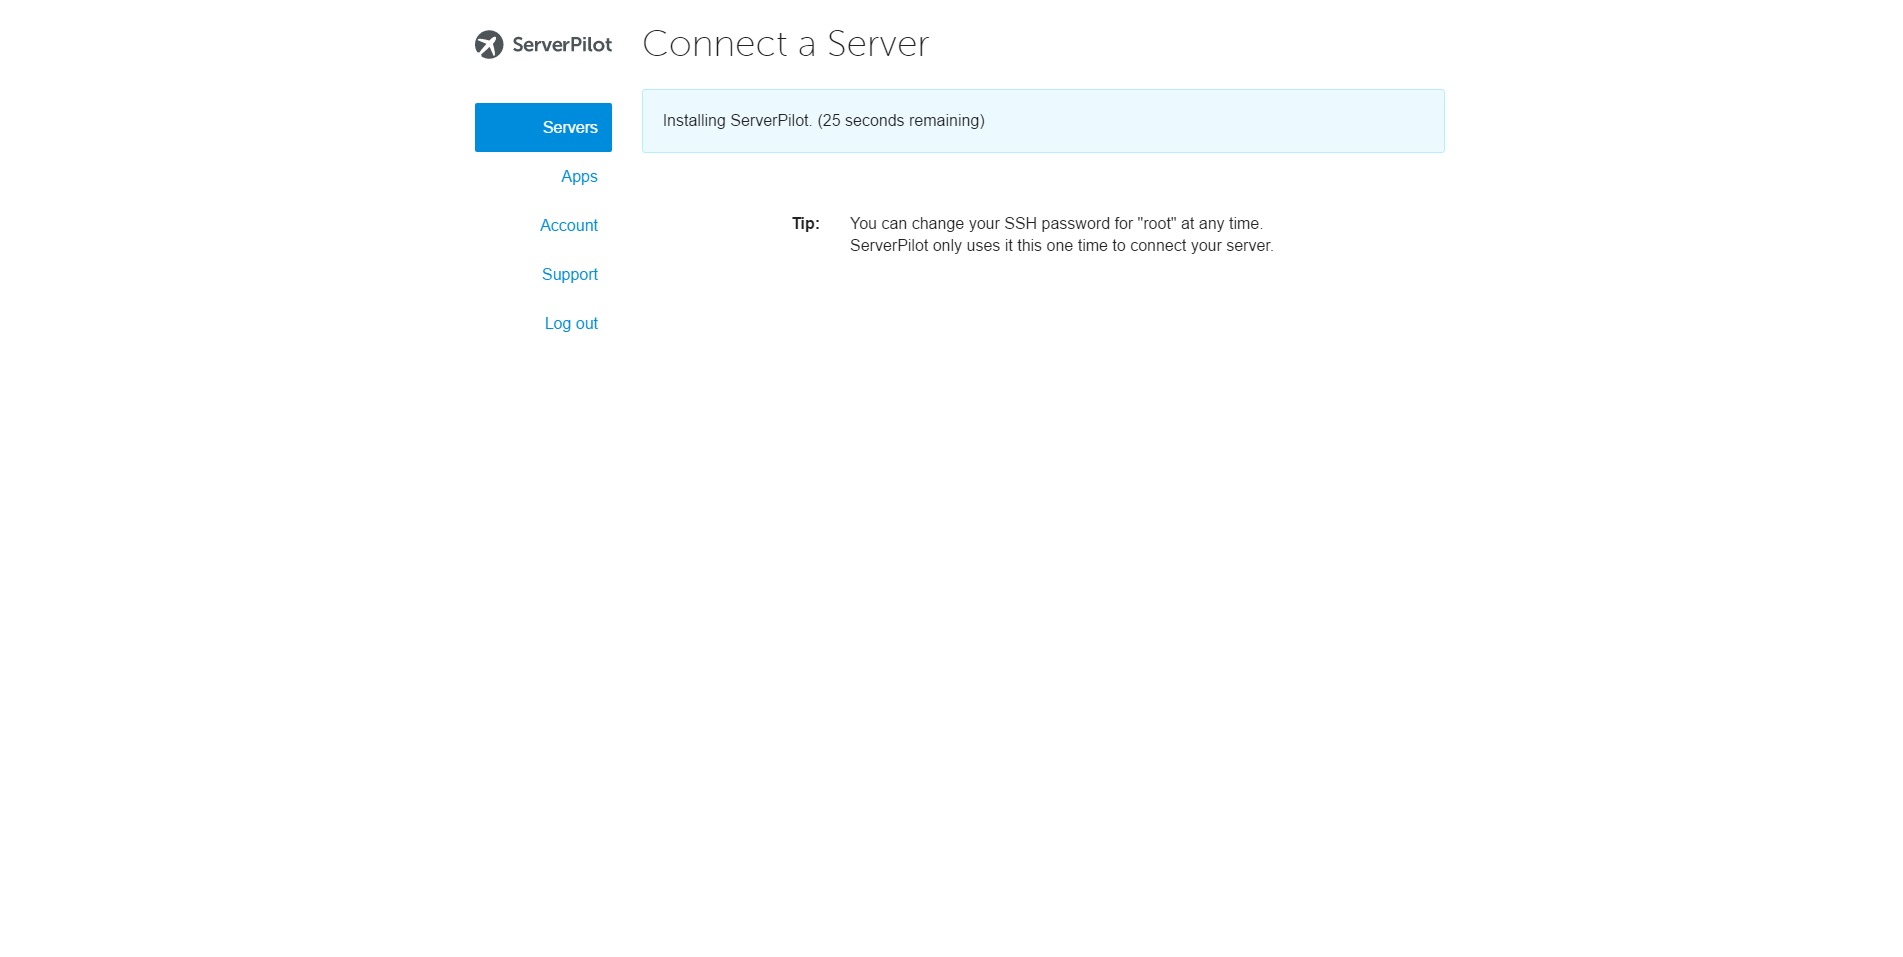
Once it’s done, you should see a screen that basically told you to “create an app”. An app can mean anything that requires PHP and MySQL, but in the case of wordpress, they have a special option for it that makes it even easier to set up.

Tick that ‘wordpress’ option, and the rest is pretty much self-explanatory. After you’re done, remember to create an A record for your domain and point it to the IP Address of the server that’s being managed by Server Pilot. In most cases, you should see your new wordpress site up and available within minutes, but DNS propagation can take up to 24 hours, so be patient.
And That’s It! Enjoy!
P.S: If you need a self-managed VPS to run a WordPress on Server Pilot, why not try us at GOODHost? Our plans for 1GB RAM starts only at $6.99/month and it runs wordpress beautifully. This blog, for example, is hosted on our VPS. 🙂